• 9/16/22 6:46 pm
- 1.7k views • 0 today
- save_alt 109 downloads
- Progress
- 100% complete
1
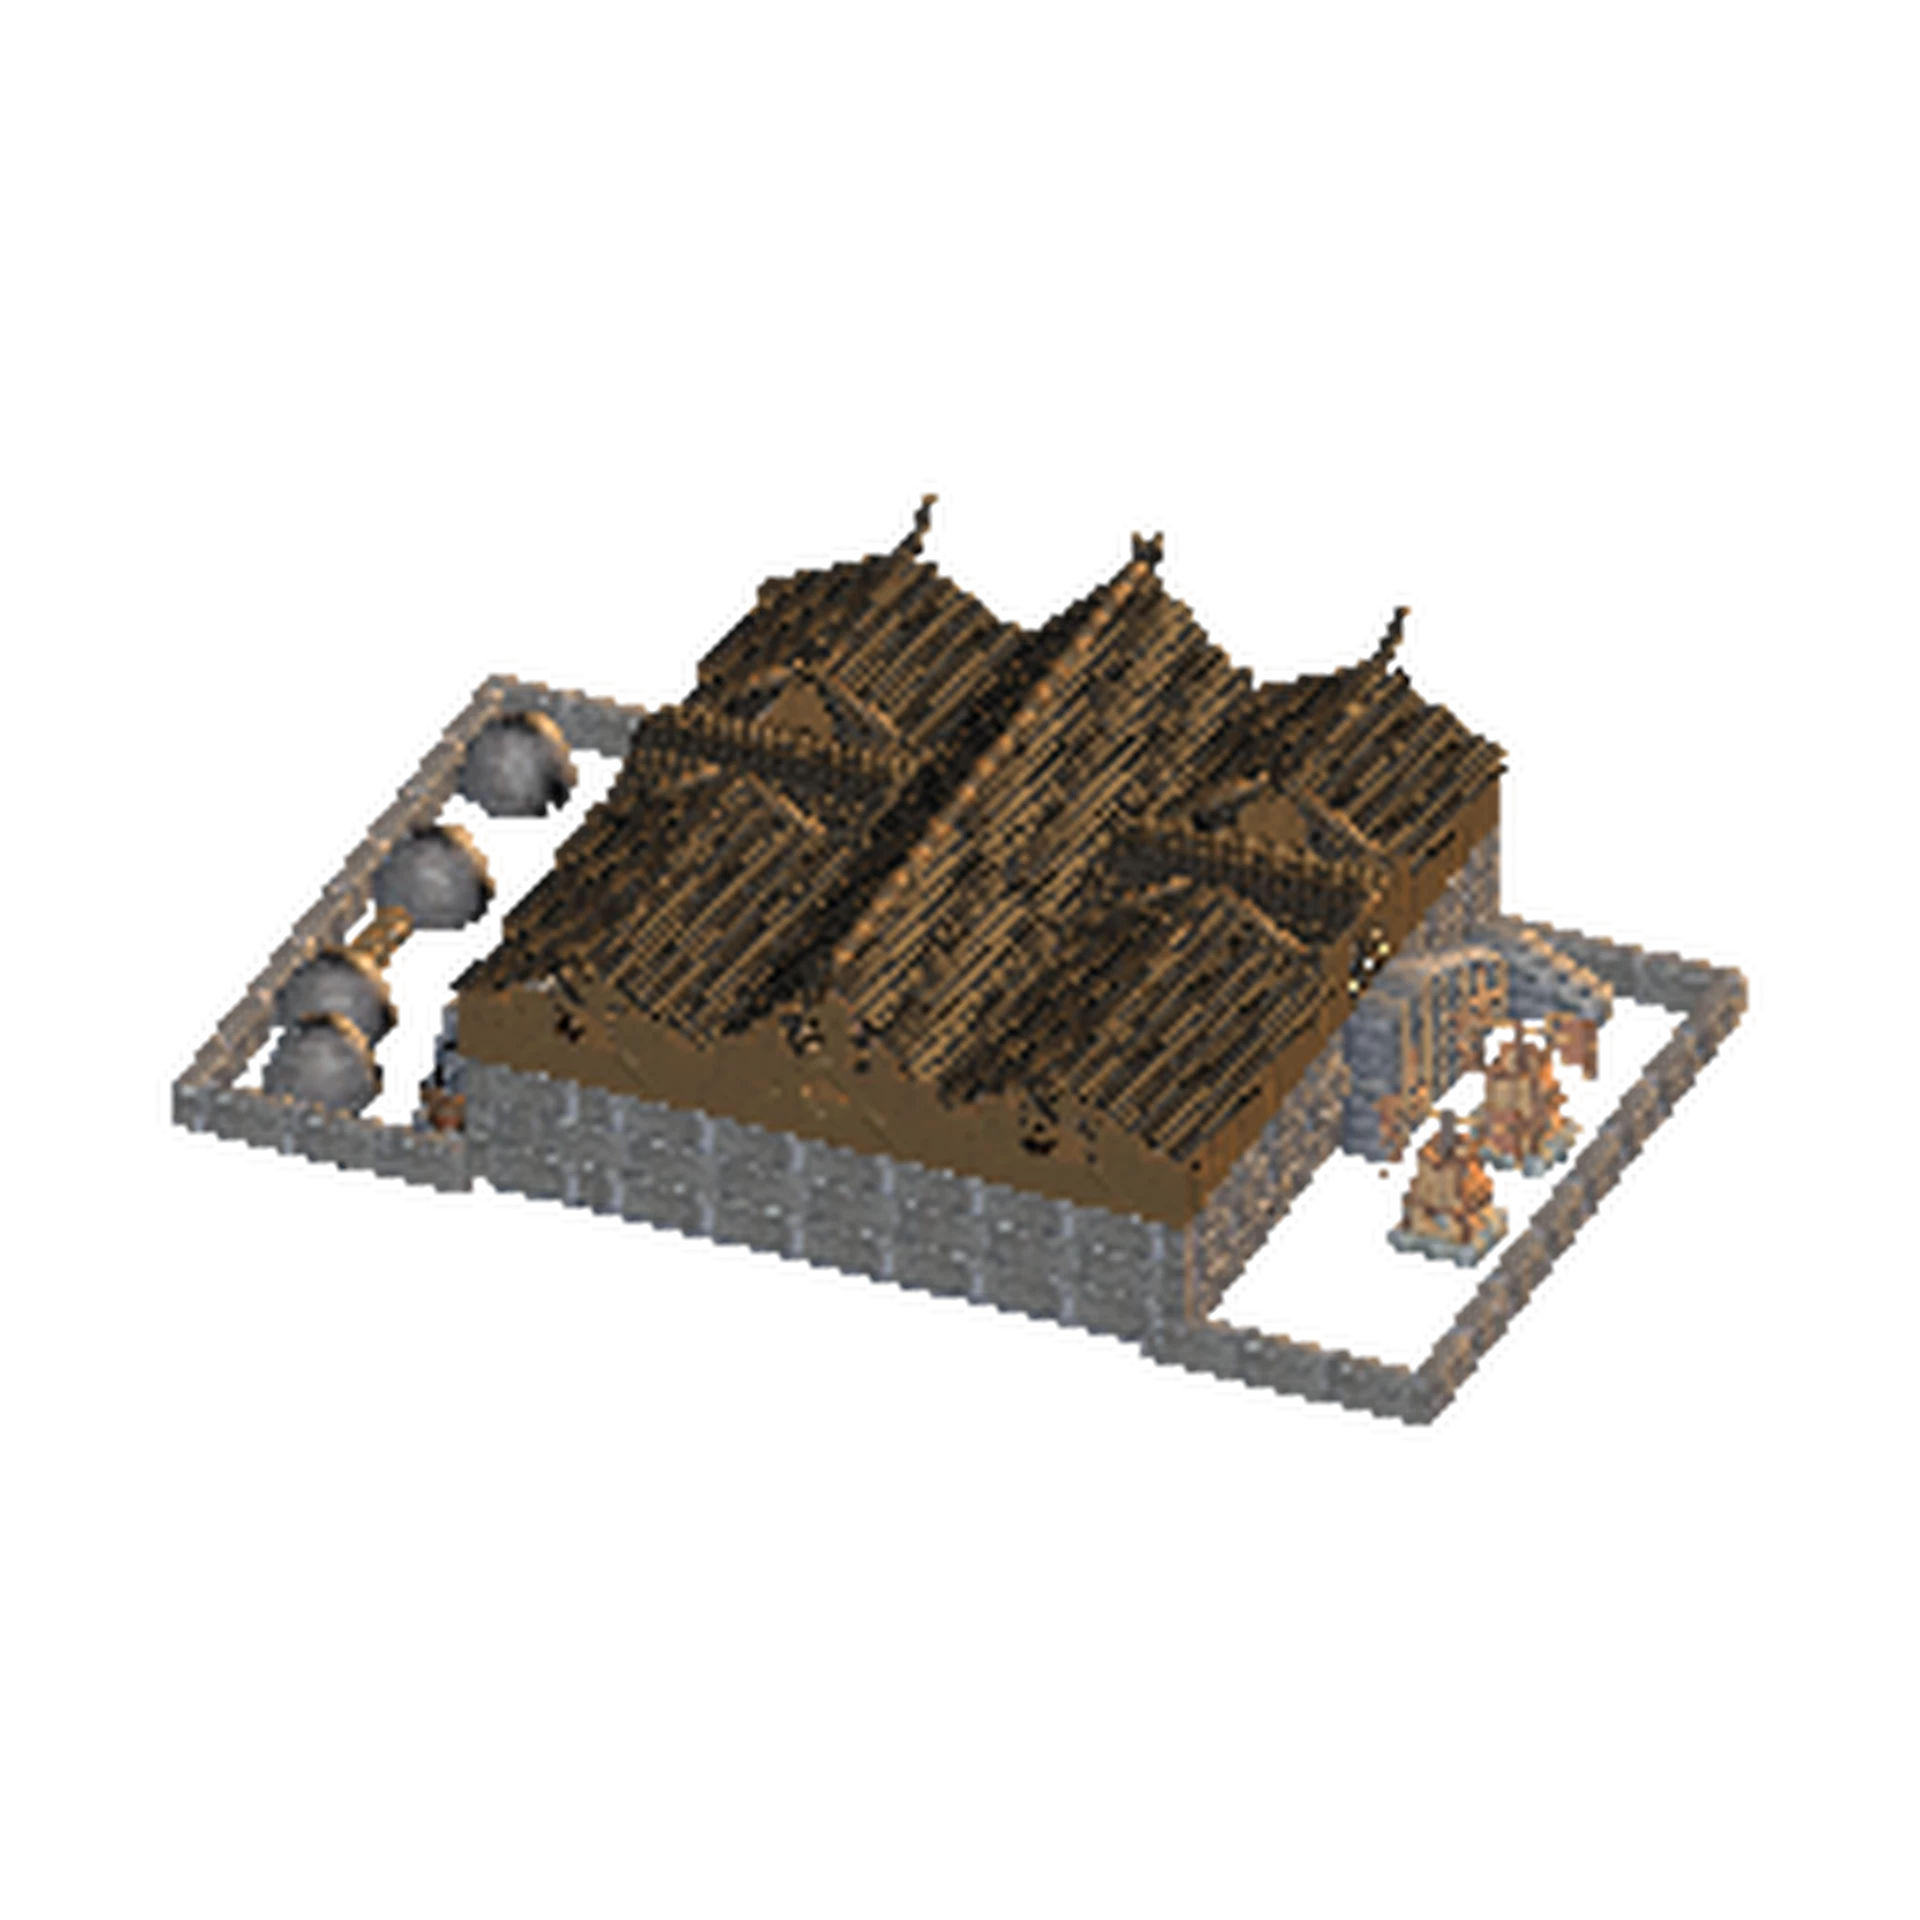
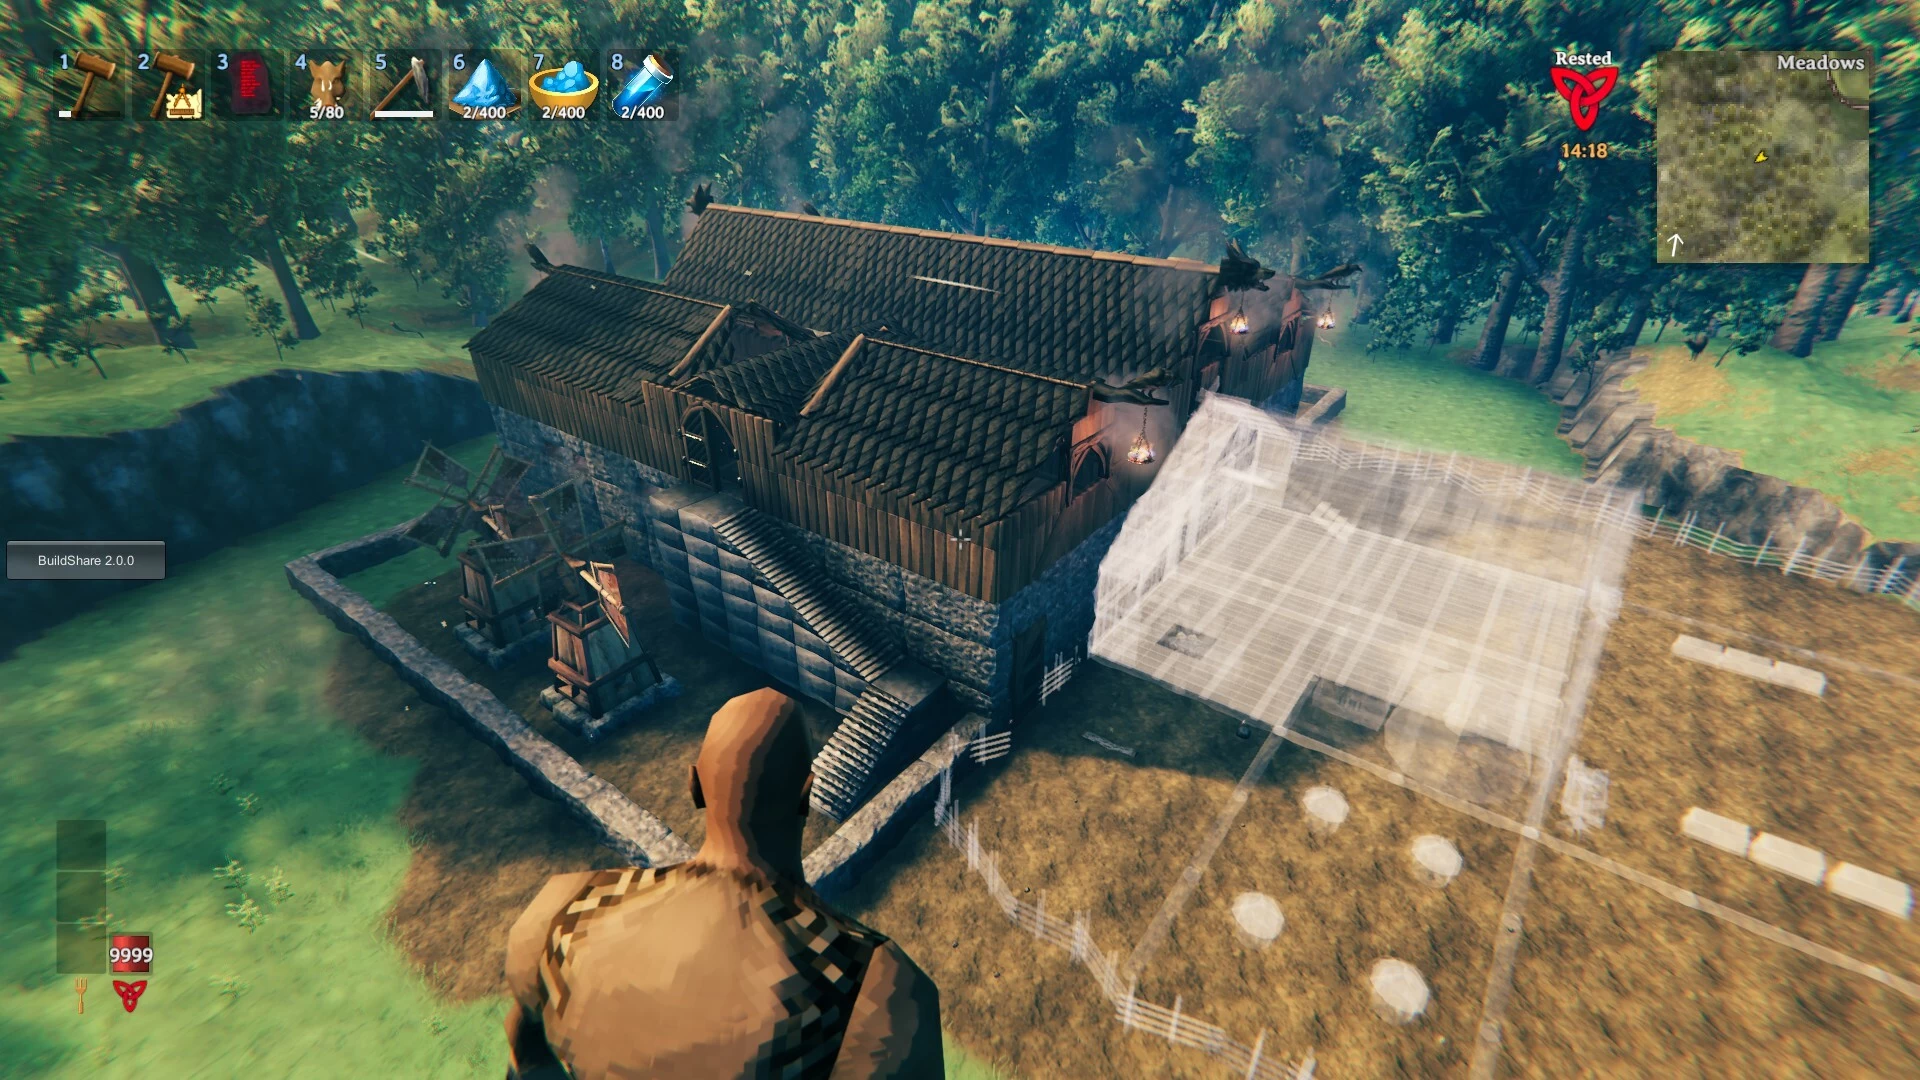
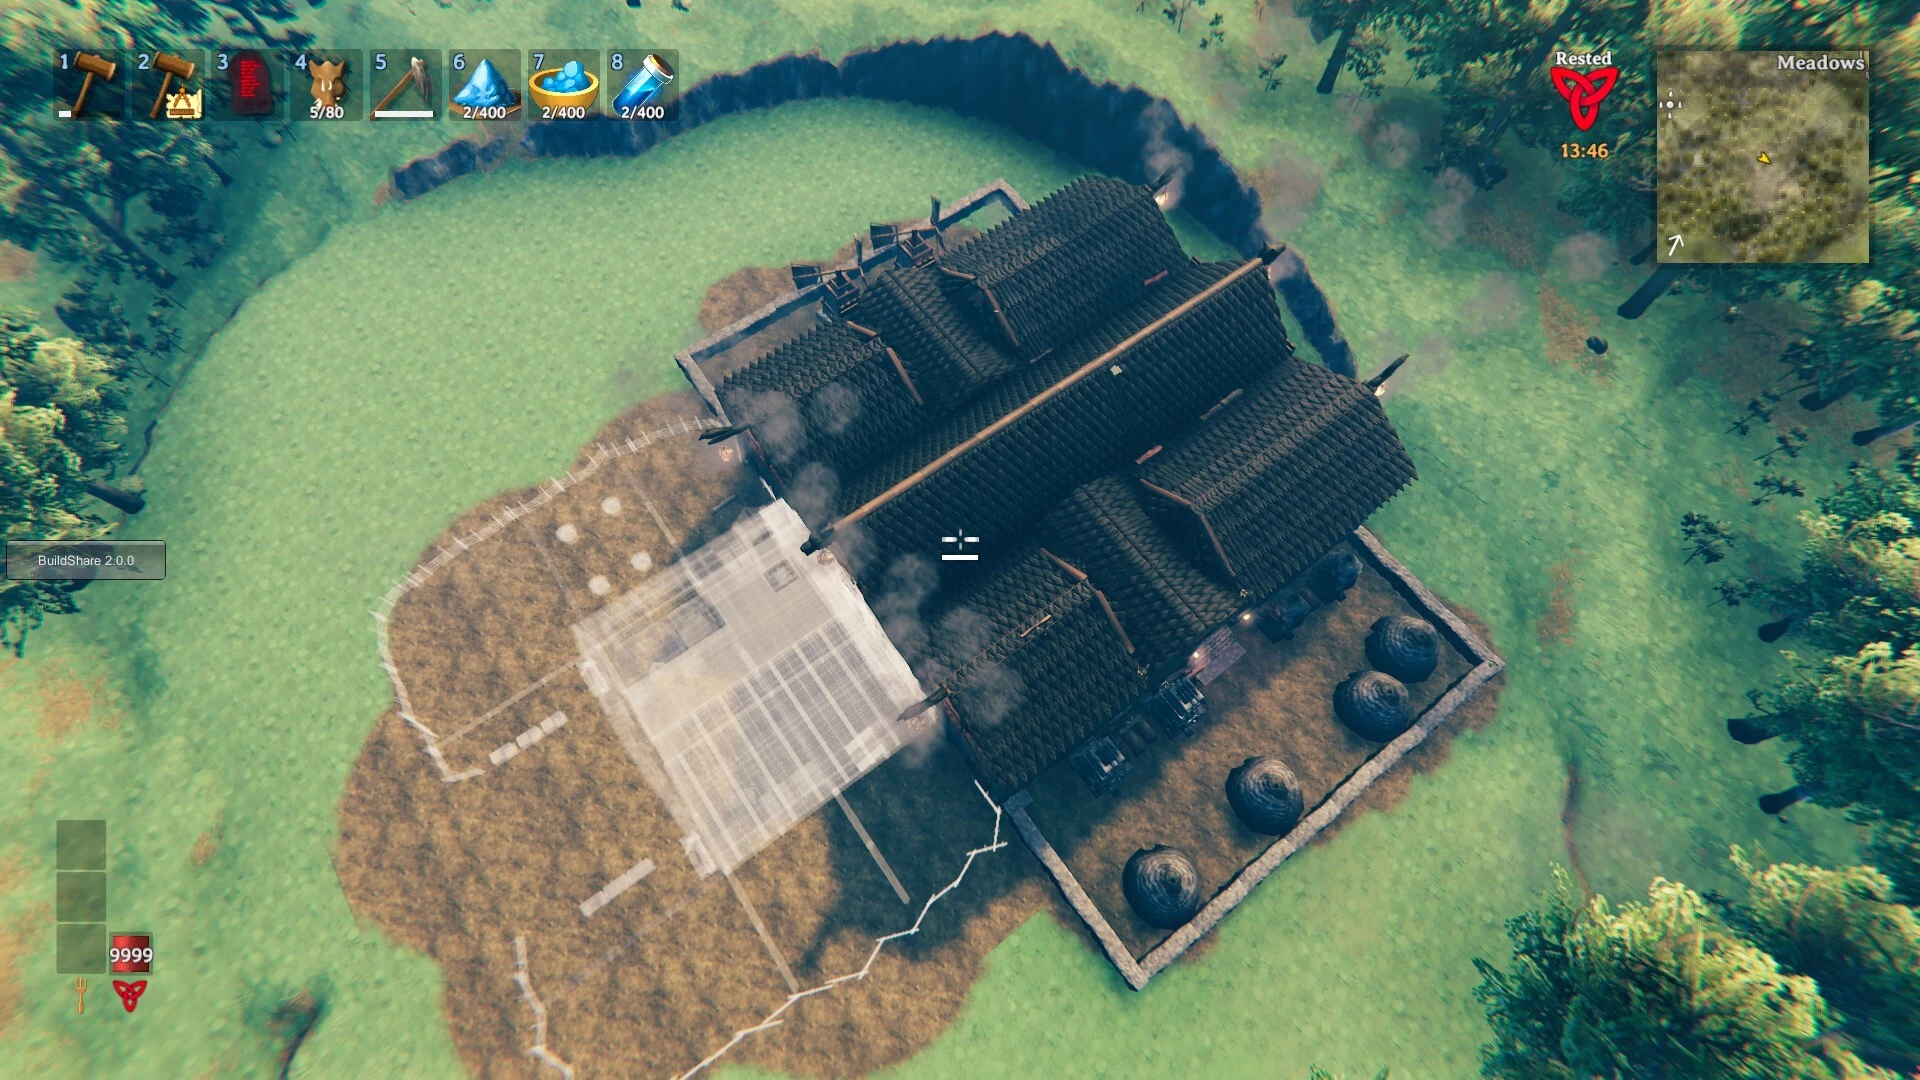
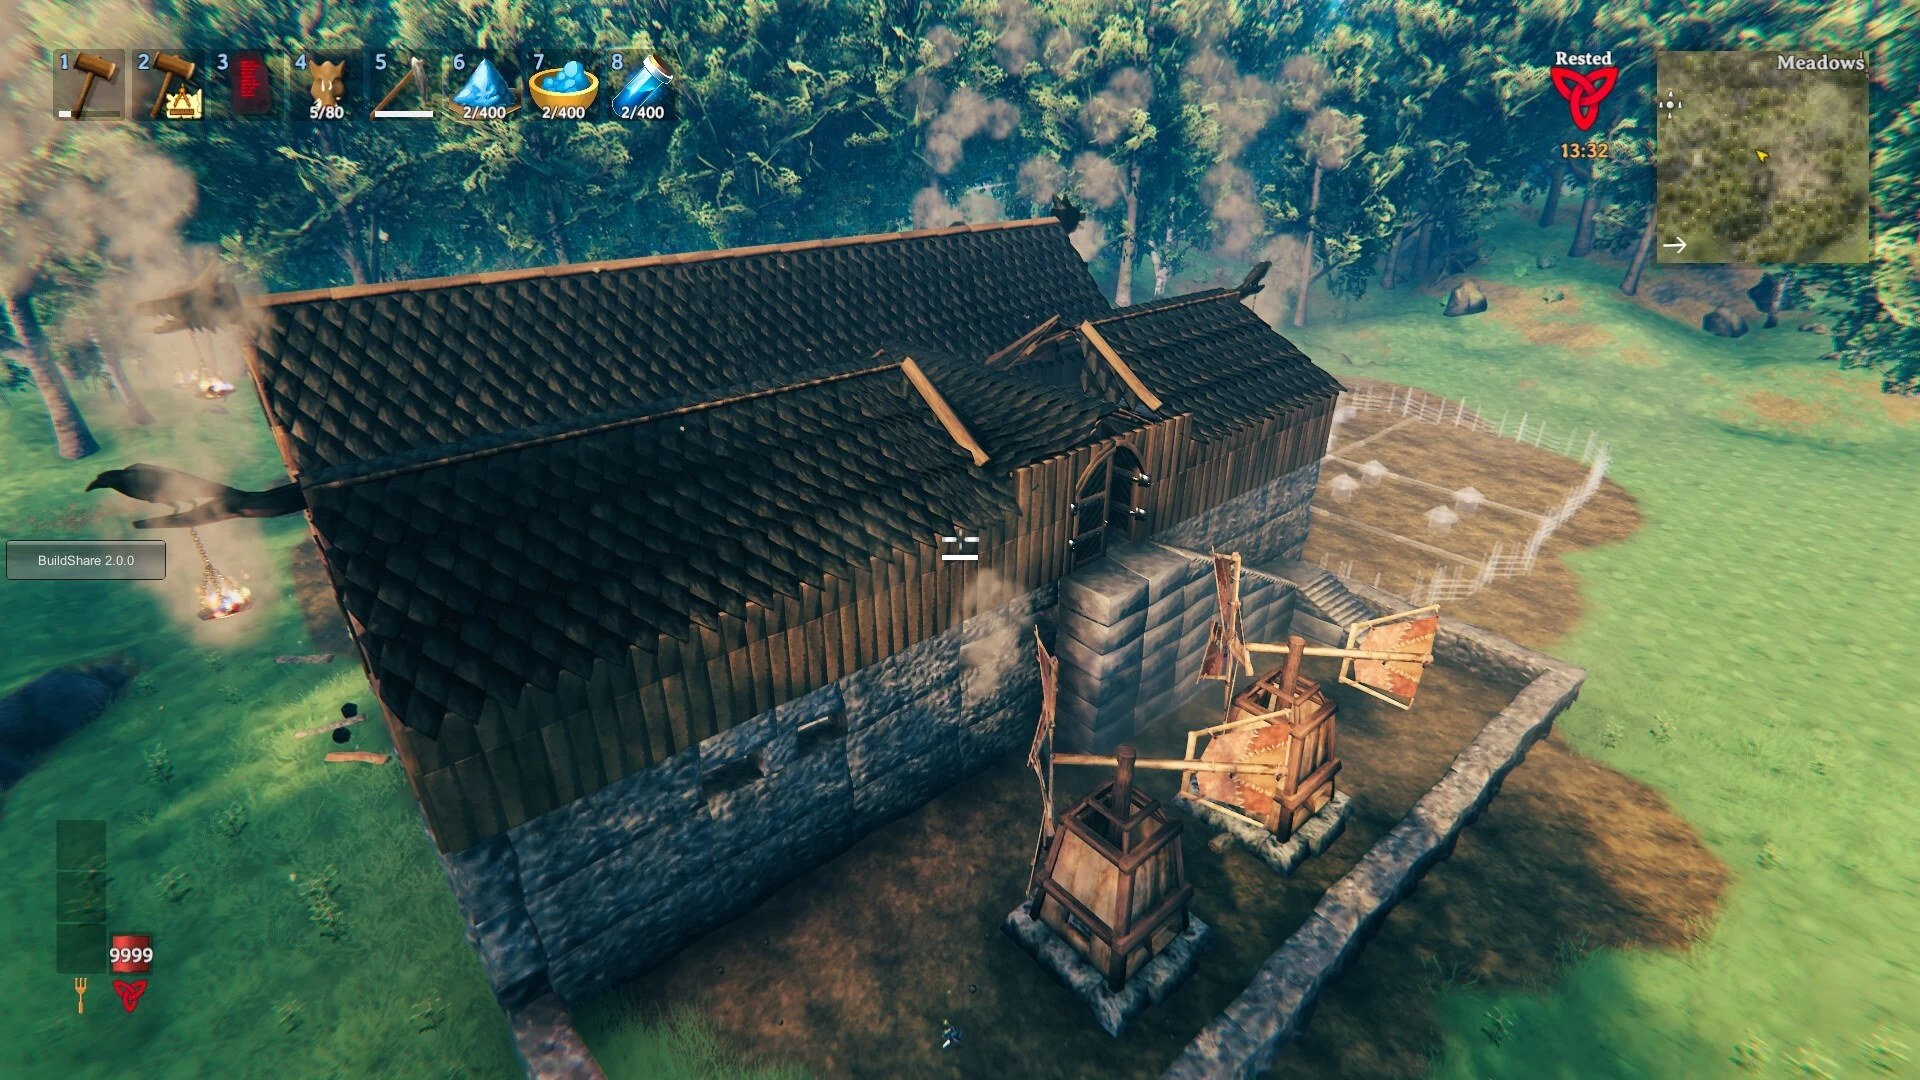
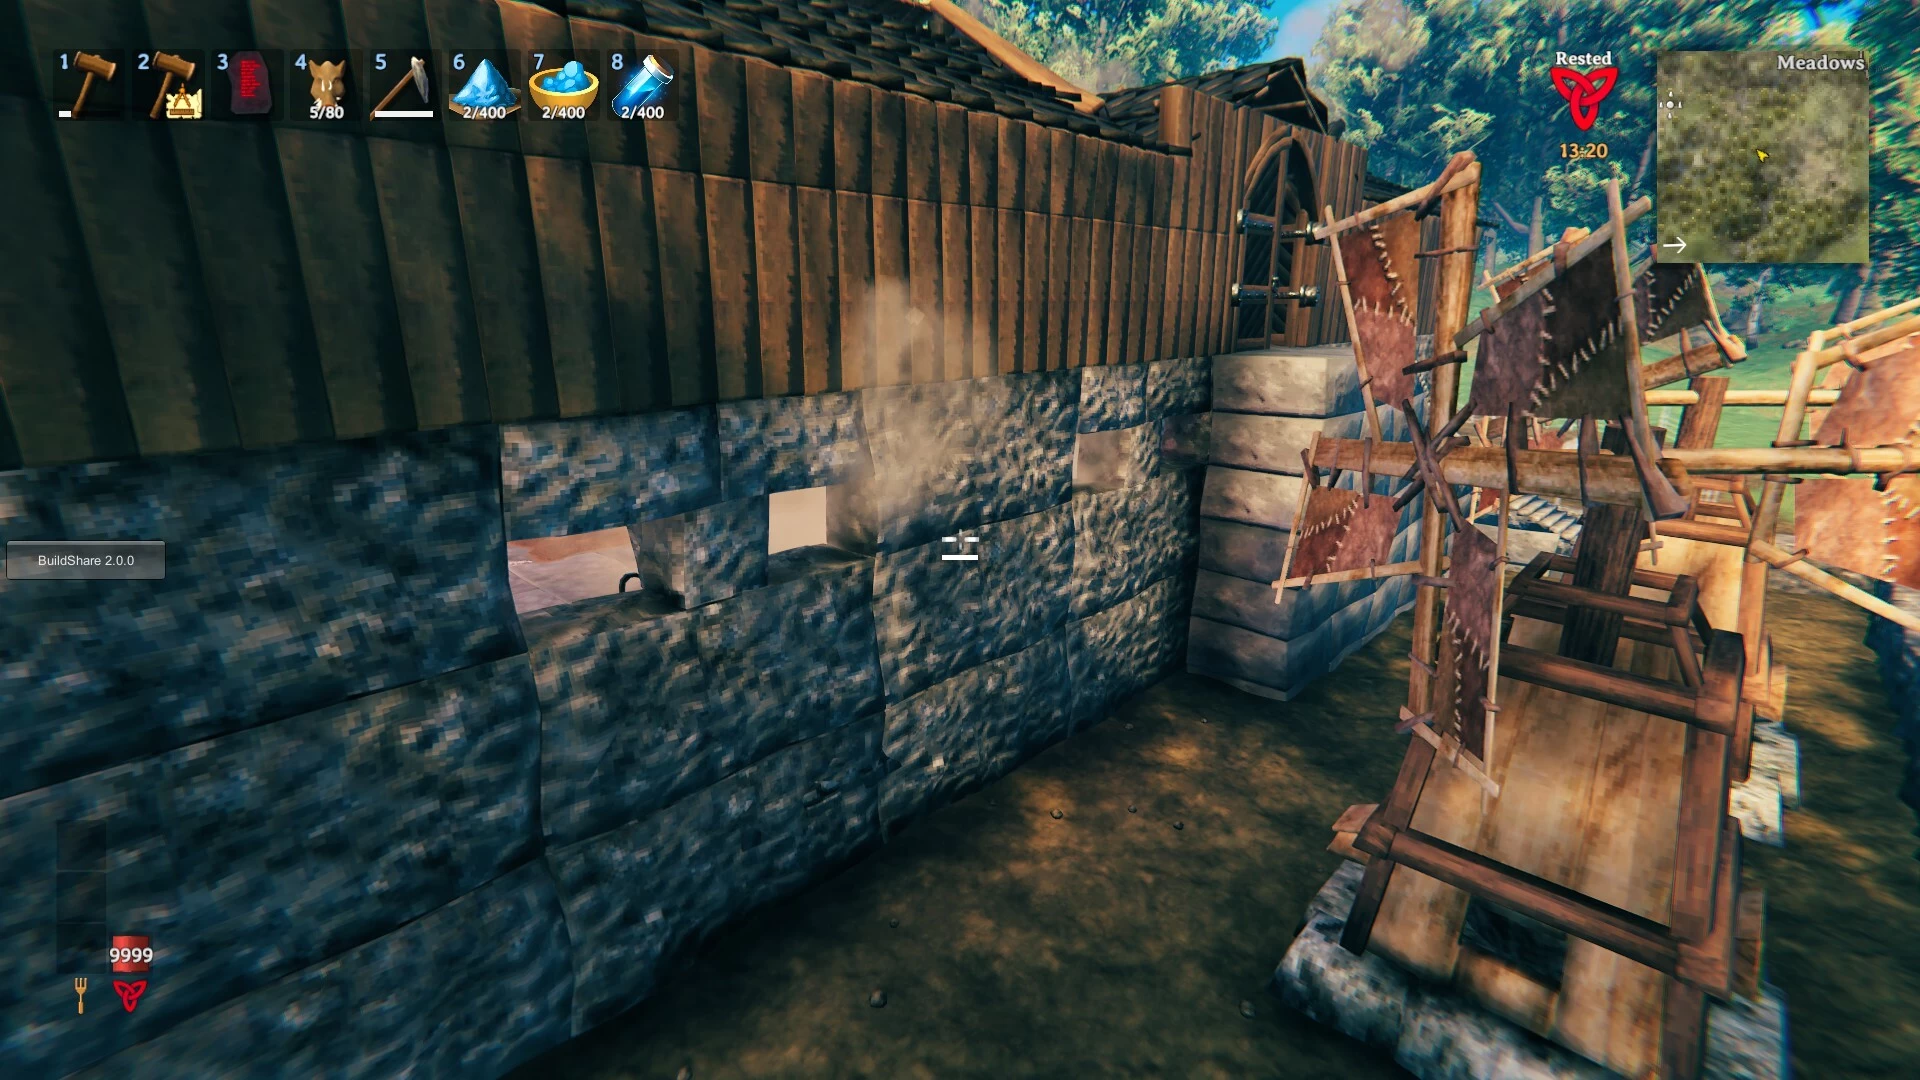
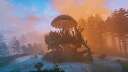
The third part can be used as a standalone with a few tweaks. You can swap out two blaster smelters for two normal smelters. The inside is mostly bare. The four rooms above are empty as well. Fill it up as you see fit. Each of the rooms, if brazers are periodically refilled, are heated properly.
This part is quite grindy so, if you're soloing it, may Odin bless your heart. Perfecct imo for a four man team.
WARNINGS:
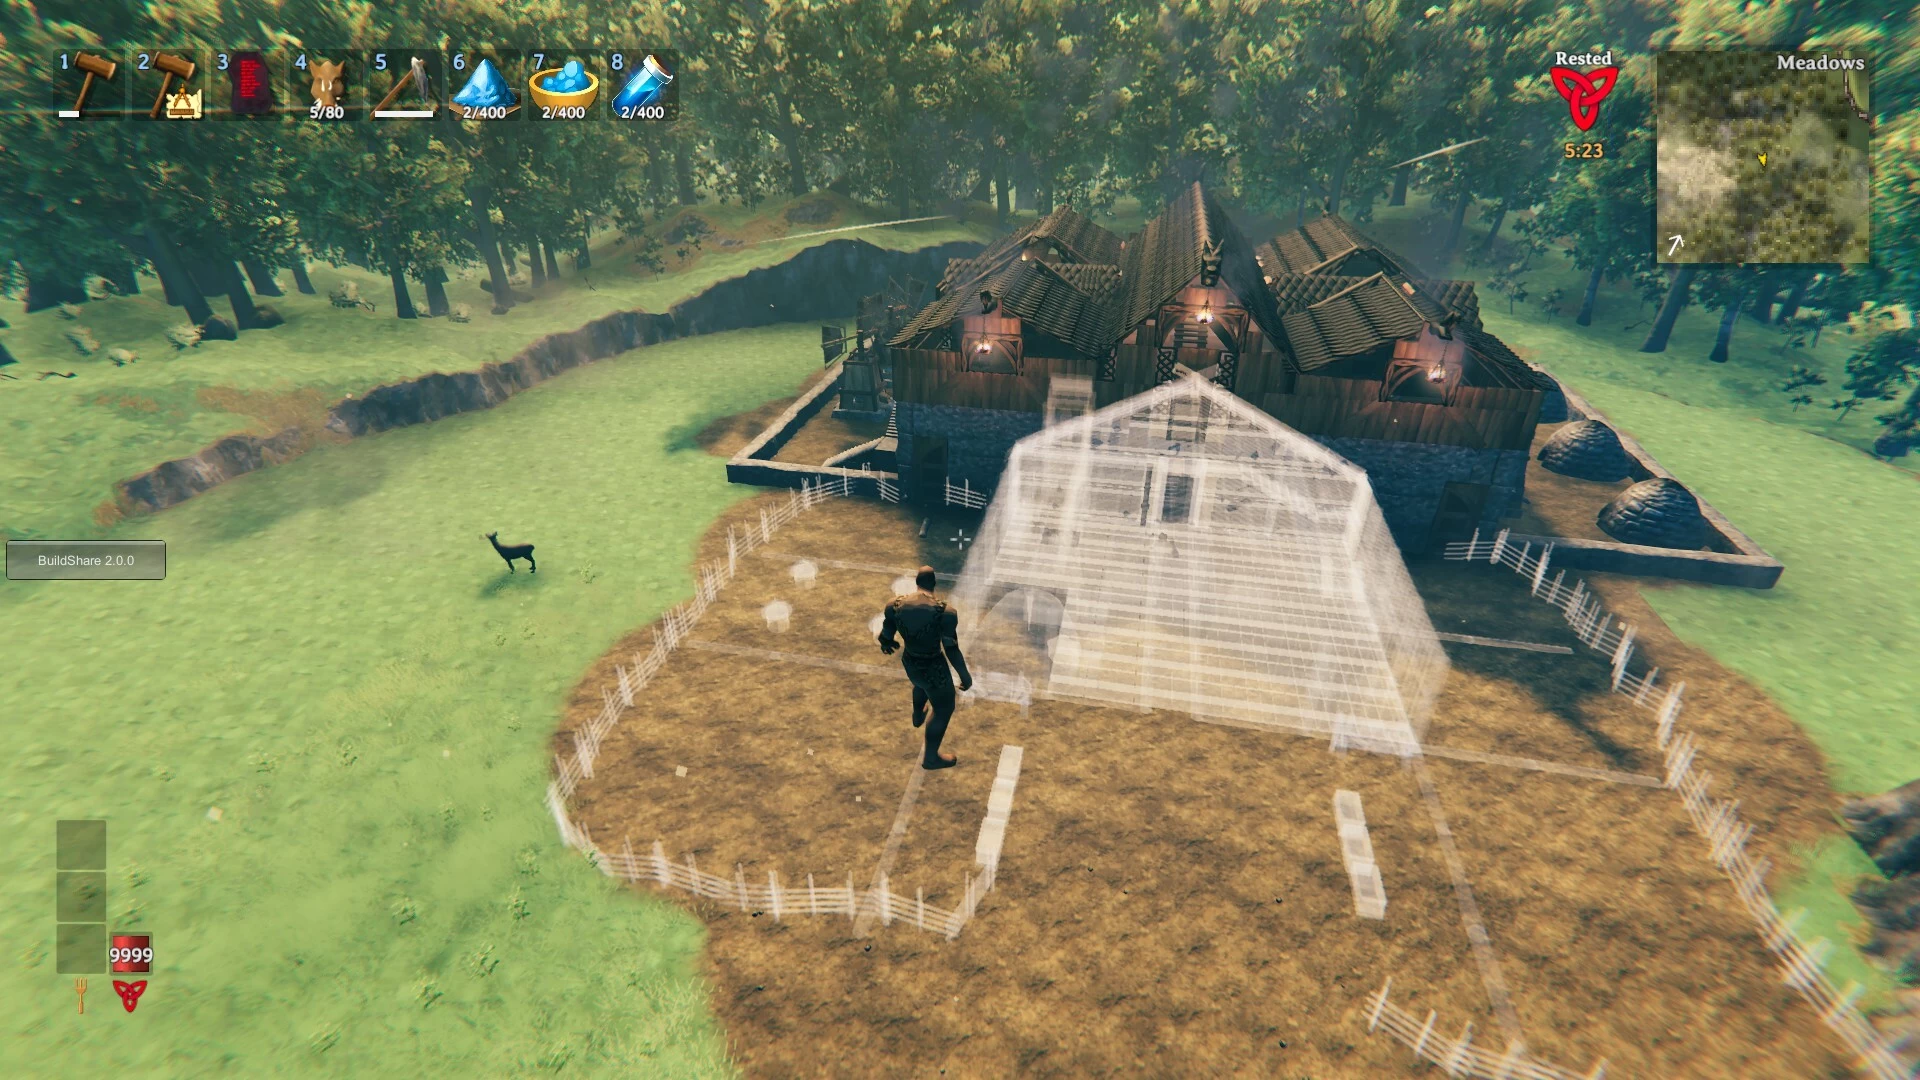
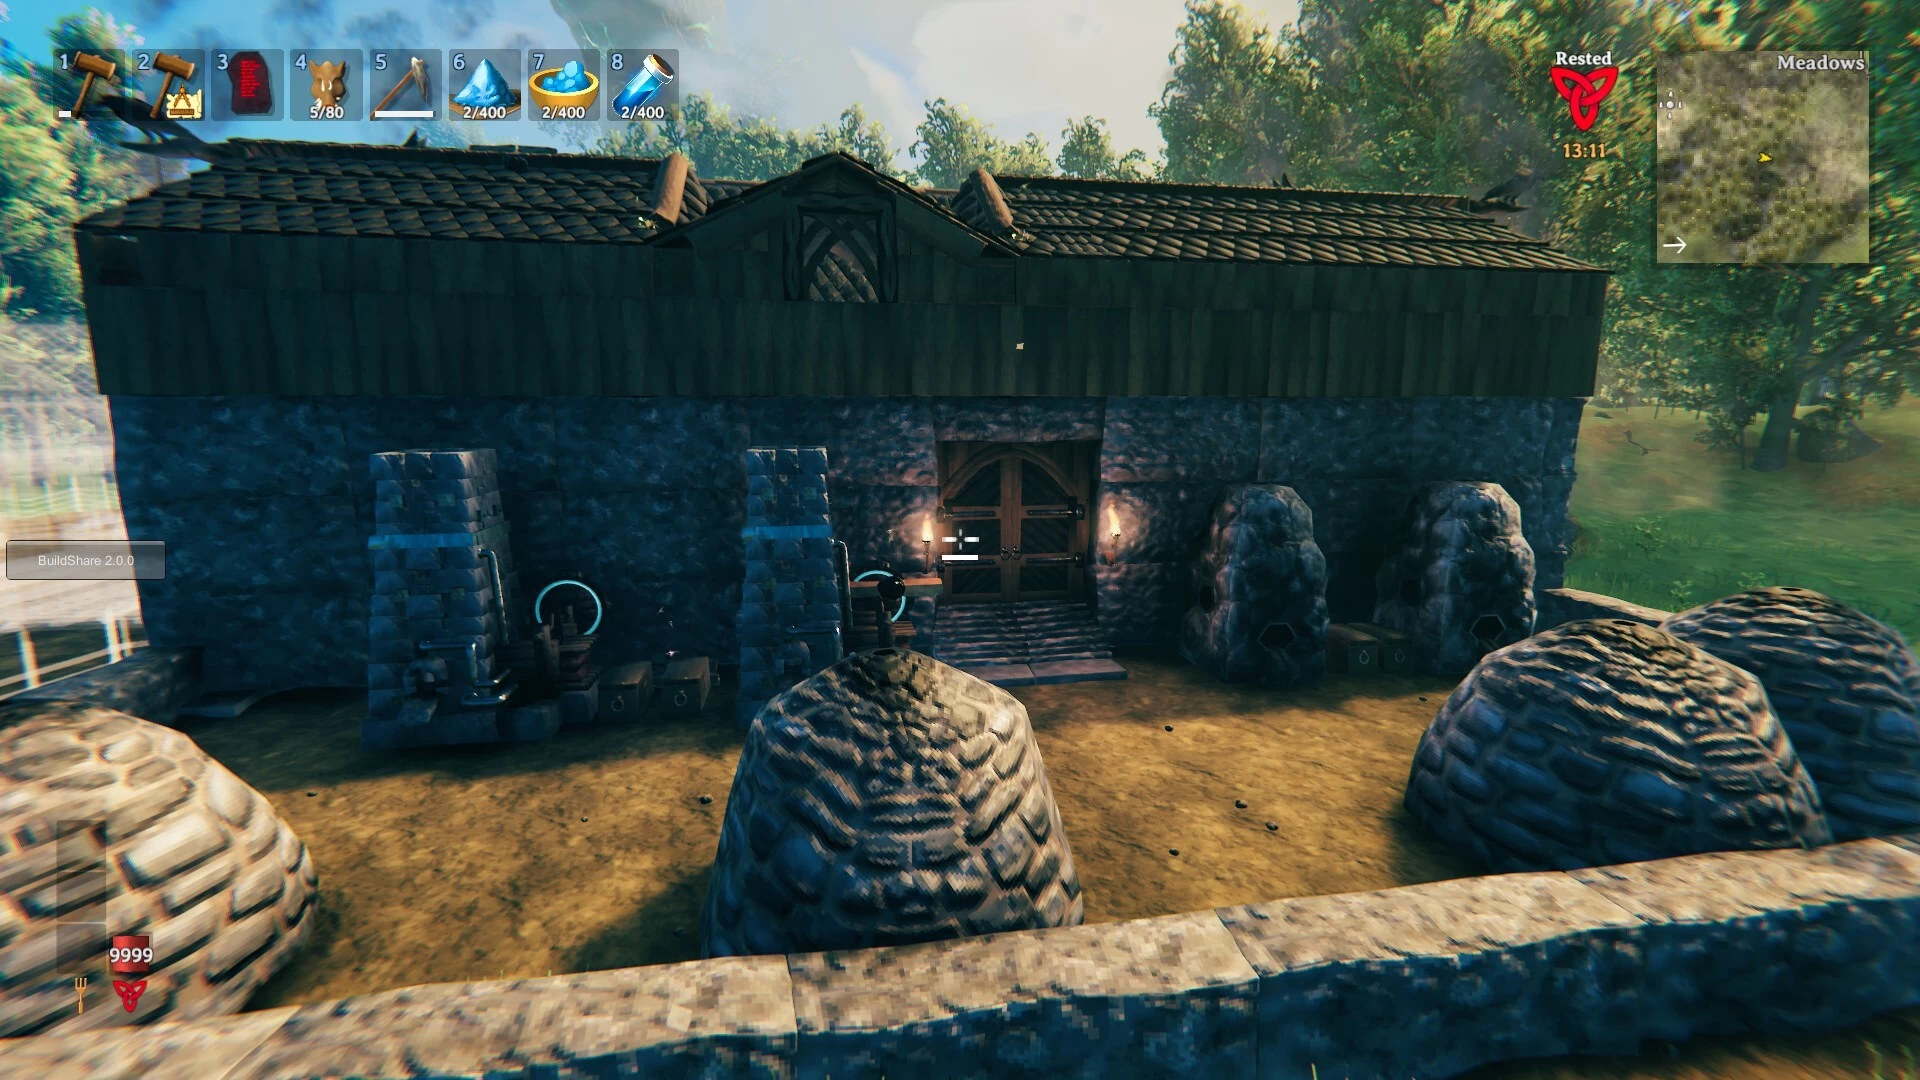
DO NOT ADD WOOD TO THE TOTEM FOR THE THIRD PART UNTIL YOU HAVE ADDED ALL OF THE STONE AND IRON.
Unless you want to live with rain damaged floors and walls for ever. Once you have at least 300 tar... ahahaha... haha...ha... then, you can start adding wood.
The third part snapping is always difficult. Idk why. I do know the back door of the second part has to go away most of the times. Messing around by adding in beams sometimes help the snapping process. Also messing around with offset of the building can help with the snapping process.
This part is quite grindy so, if you're soloing it, may Odin bless your heart. Perfecct imo for a four man team.
WARNINGS:
DO NOT ADD WOOD TO THE TOTEM FOR THE THIRD PART UNTIL YOU HAVE ADDED ALL OF THE STONE AND IRON.
Unless you want to live with rain damaged floors and walls for ever. Once you have at least 300 tar... ahahaha... haha...ha... then, you can start adding wood.
The third part snapping is always difficult. Idk why. I do know the back door of the second part has to go away most of the times. Messing around by adding in beams sometimes help the snapping process. Also messing around with offset of the building can help with the snapping process.
More like this

 Tiny Home Challenge, Part 3: Before BonemassAdvanced Base Build
 SorchaAzura
•2/13/22 2:48
3.2k 461x 873
SorchaAzura
•2/13/22 2:48
3.2k 461x 873


 Nolian Milovnik
891
2


 Lou De Witte
 SharpWolfclaw
 Isepic
 Berserk The Builder
Have something to say?